
Filtering by Tag: Homemade Liqueur
How to Make Kummel at Home
Kummel, also spelled Kümmel, is a botanical liqueur flavored primarily by distilling caraway and then sweetened. But, as it turns out, you do not need a still to make a fairly simple and delicious version of kummel at home.
Back in March when states began issuing stay at home orders I decided it was time to start making some liqueurs. I started simple with limoncello and pompelmocello (grapefruit), but I decided I wanted to try something a little more of a challenging. That’s when kummel came to mind.
Since I don’t have a still, I started looking for kummel recipes online that use maceration (soaking botanicals in alcohol) instead. While Google came trough and gave me some results, none of the online recipes were exactly what I was looking for. However, I came across a note about an old French distillers recipe book that included kummel. There was no mention of a title or author so it took awhile to locate but eventually I found the source: Culture de la Vigne: Traitement Pratique des Vins: Vinification - Distillation by Raimond Boireau (1876). The book includes five recipes for kummel (pp 451-453): One with just caraway, one with caraway essence, and three that use caraway with a small amount of other spices. Based on these recipes I decided to make one bottle (750ml) of about 40% ABV kummel that was 30 parts caraway, 2 parts coriander and 1 part fennel.
Recipe for EZ Homemade Kummel
Ingredients
310 ml liters of 190 Proof Everclear (95% ABV) = 252.96 g
25 g caraway
1.69 g coriander
0.85 g fennel
500 ml water
500 ml sugar
If you live in an area where 190 Everclear is not available you can also use 400 ml of 151 Everclear (75.5% ABV), or 600 ml of 100 proof vodka (50% ABV) with the same amount of spices. The maceration won’t be as intense and you will not need as much simple syrup to bring it down to proof.
Directions
Place a small glass container (a pint size mason jar will work) on your kitchen scale and weight out 252.96 grams of Everclear and put aside.
Place a small bowl on your kitchen scale and weigh out 25 grams of caraway. Dump the caraway into the alcohol and repeat with the coriander and fennel.
Once the spices and alcohol are in the same container, seal it up, give it a shake and let sit for 3 days out of direct sunlight. The alcohol will extract flavors and some color out of the spices, and if you want to give it a shake once a day, go for it.
Combine the sugar and water into a small pot and stir on medium heat until the sugar is completely dissolved into the water. Let cool, pour the syrup into an empty wine/liquor bottle and place it in the refrigerator until needed. This will make more than you need for the kummel but you can save the leftover simple syrup for making cocktails.
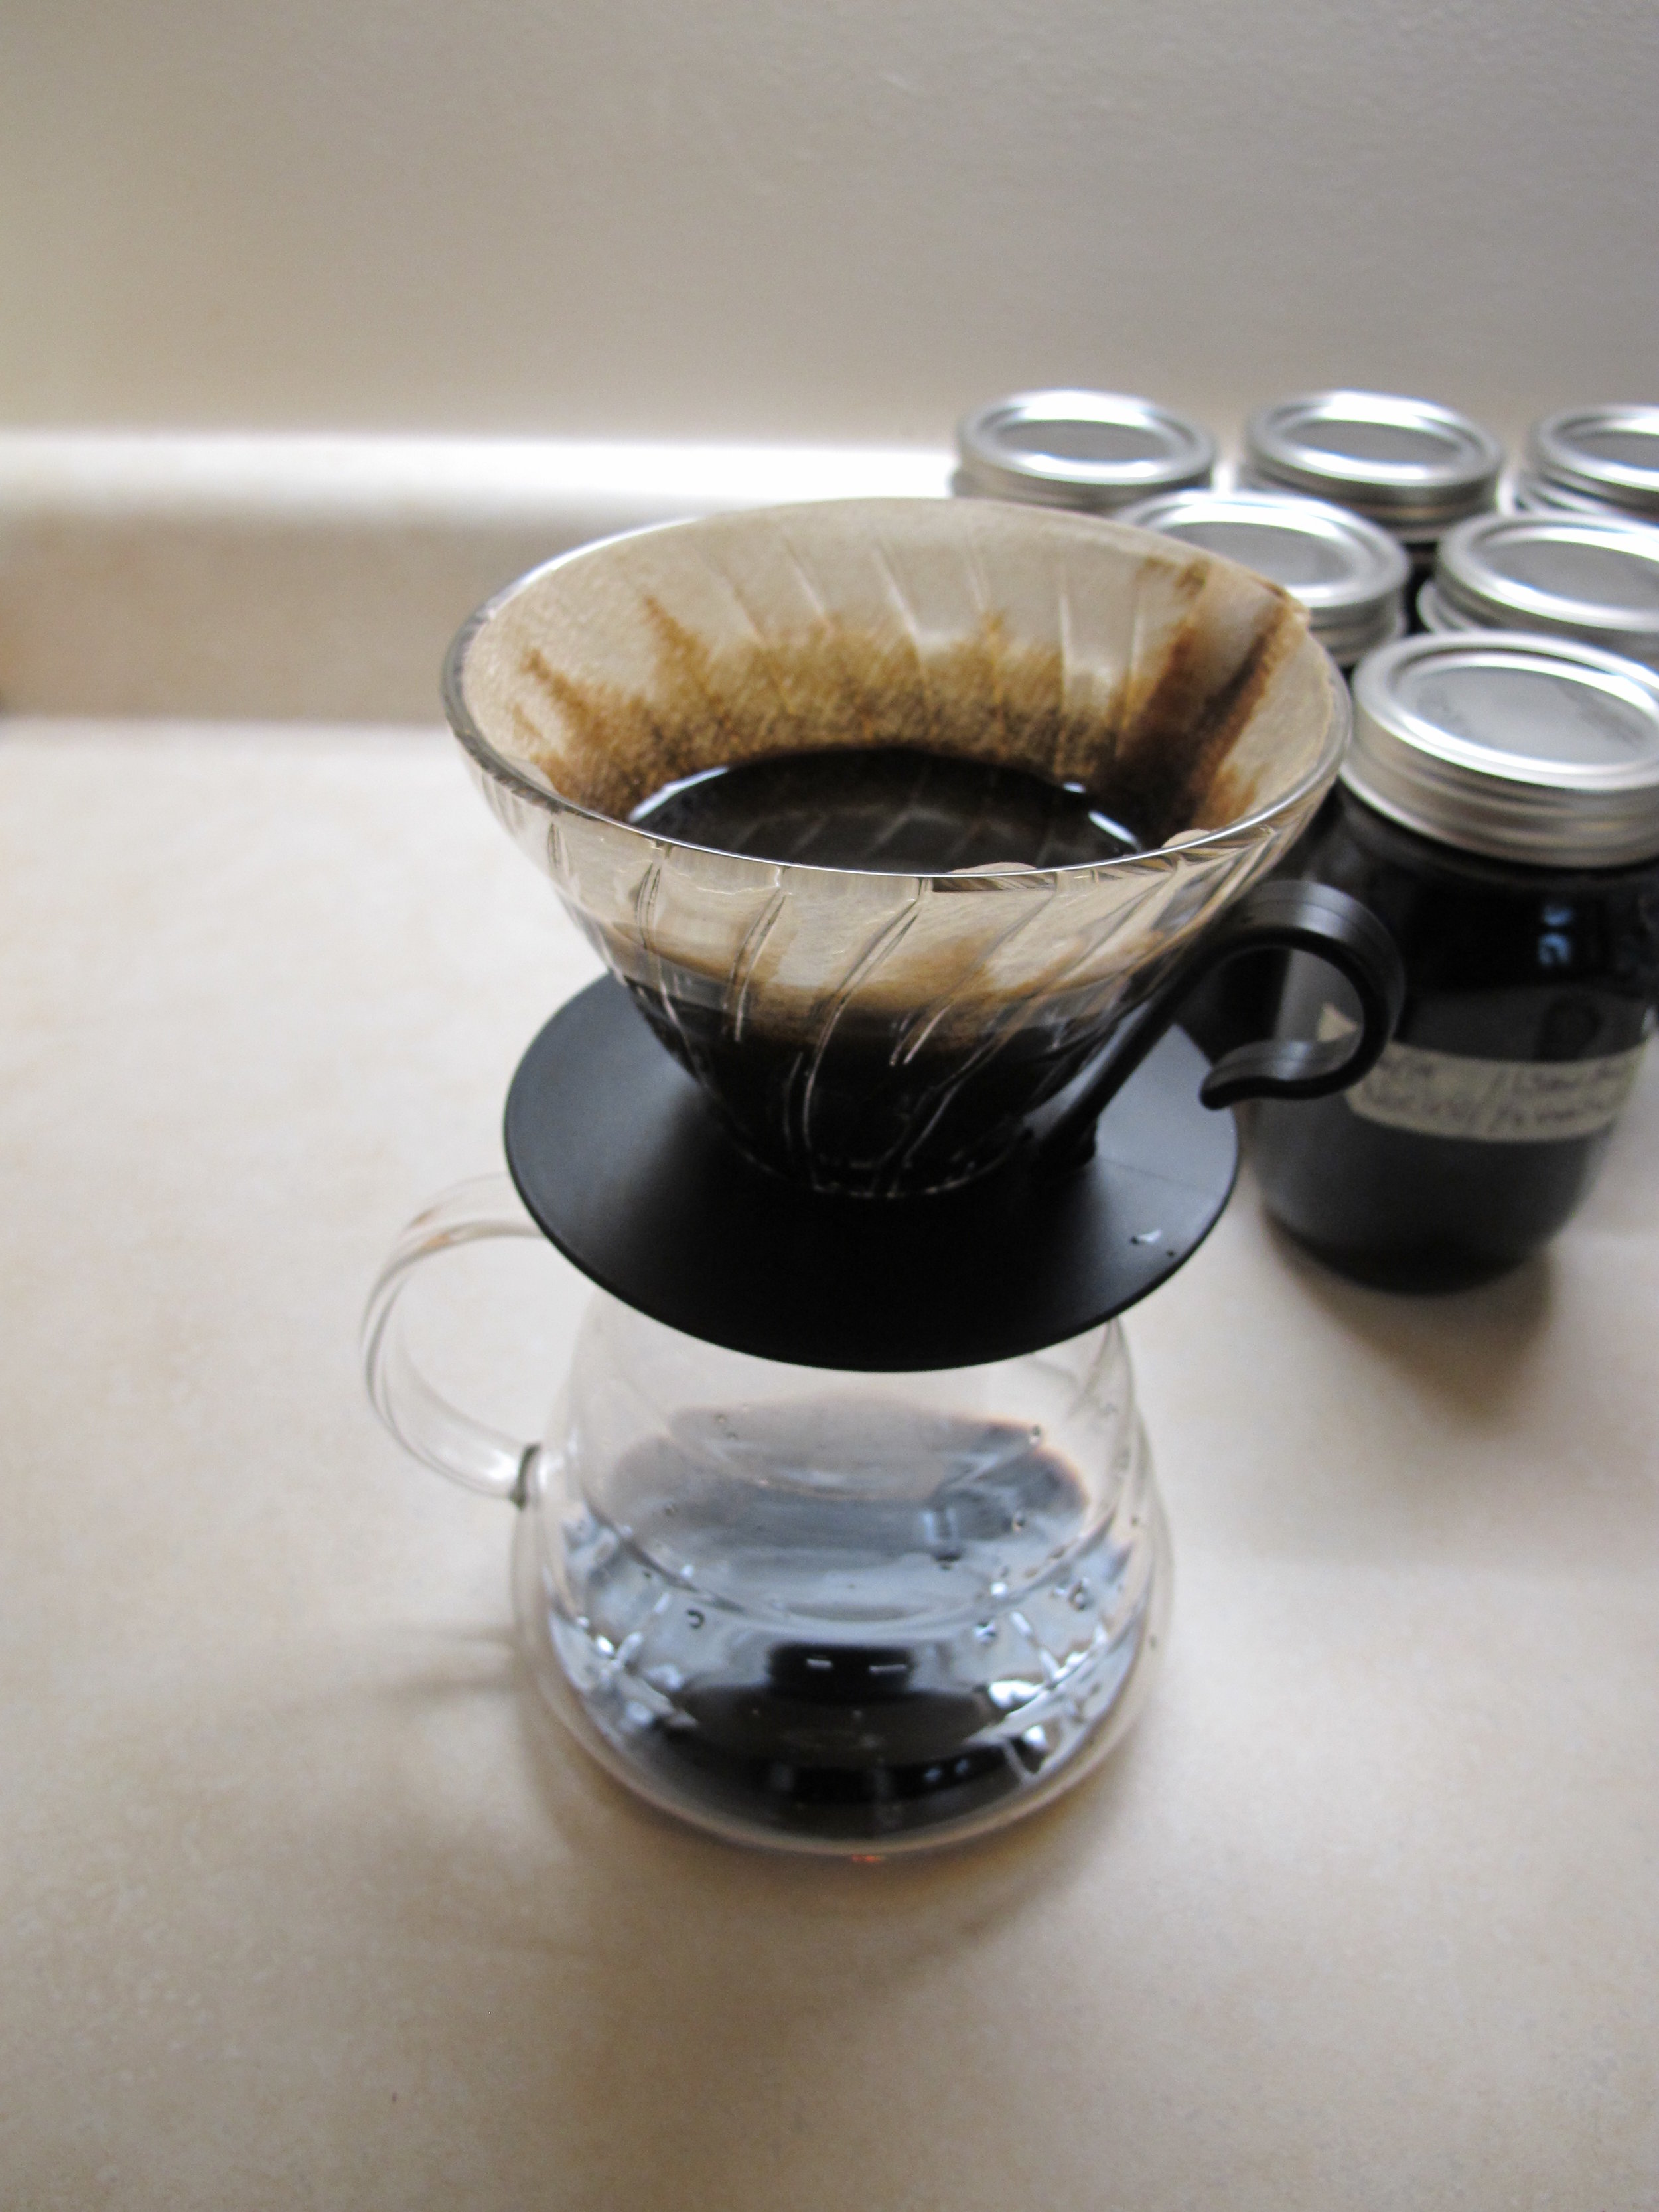
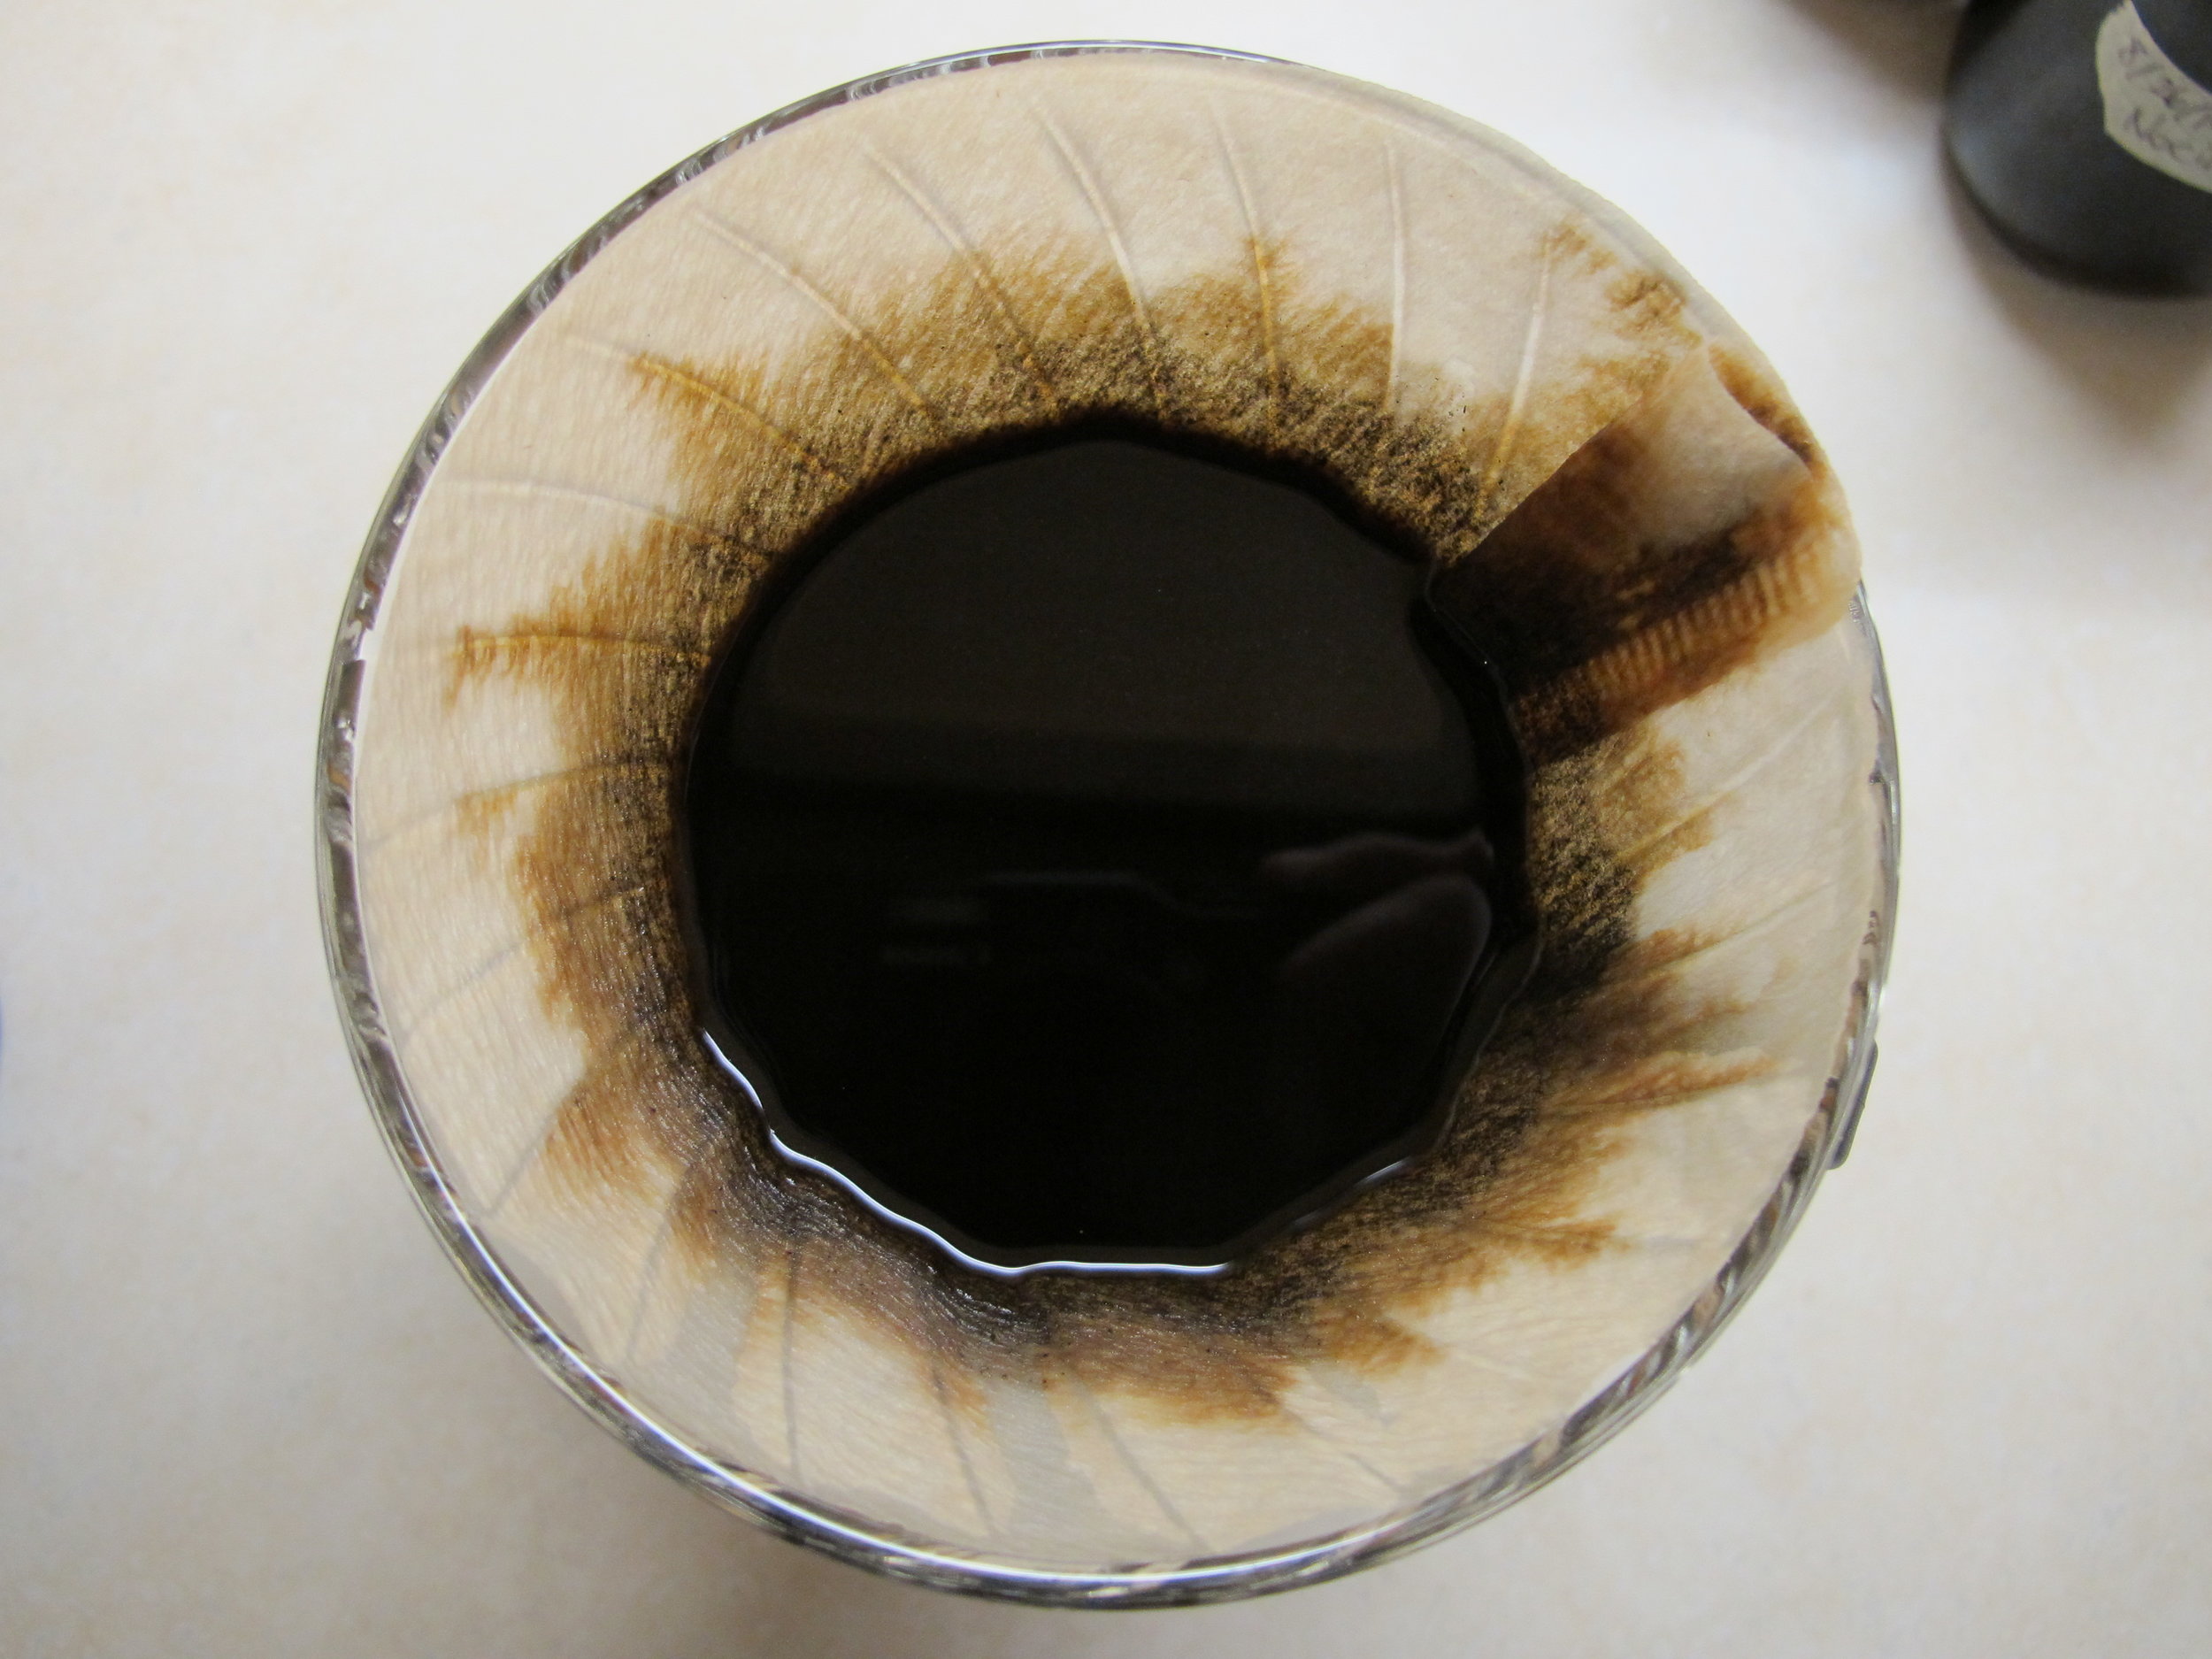
After 3 day filter the spices from the alcohol and pour the infused spirit into a clean 750 ml bottle that has a cap or closure. You can filter the spices with a simple mesh strainer or a coffee filter. Since I have a V60 for making coffee at home I use that. If you use a paper or cloth filter, remember to wet it before hand, or the filter will soak up you alcohol.
Fill the bottle of infused spirit with about 440 ml of your premade simple syrup, close the bottle and let rest for 1 day in your refrigerator.
Results
Initially the kummel has lots of flavor from the spices, it is very sweet and has some sharpness from the alcohol. However, the longer the kummel sits the more that alcohol smooths out. If you have a sweet tooth, you will like the recipe as is but for me the next time I make it, I will only use 3/4 or half as much sugar.
As for its taste it has a great caraway flavor that reminds me of eating rye bread with a nice lemon zest from the coriander, and a slight fennel kick. Serve it neat direct from the freezer, use it in cocktails like the Old Fashioned (with bourbon or rye), the Silver Bullet or my favorite, a simple Kummel & Soda in a tall glass full of ice.
How to Make Homemade Nocino Part 3
While making my own nocino has not been a difficult process it does take quite a bit of time to rest and mellow. In part 1 I described the process of extracting the walnut flavors and creating the base liqueur. In part 2 I created a variety of spice mixes and decanted the fledgling nocino into nine glass jars.
- Clove, Cinnamon
- Cinnamon, Star Anise
- Cinnamon, Clove, Star Anise, Vanilla
- Star Anise, Vanilla
- Lemon, Cinnamon, Clove
- Lemon, Cinnamon, Star Anise
- Lemon, Cinnamon, Clove, Star Anise, Vanilla
- Lemon, Star Anise, Vanilla
- No added spices.
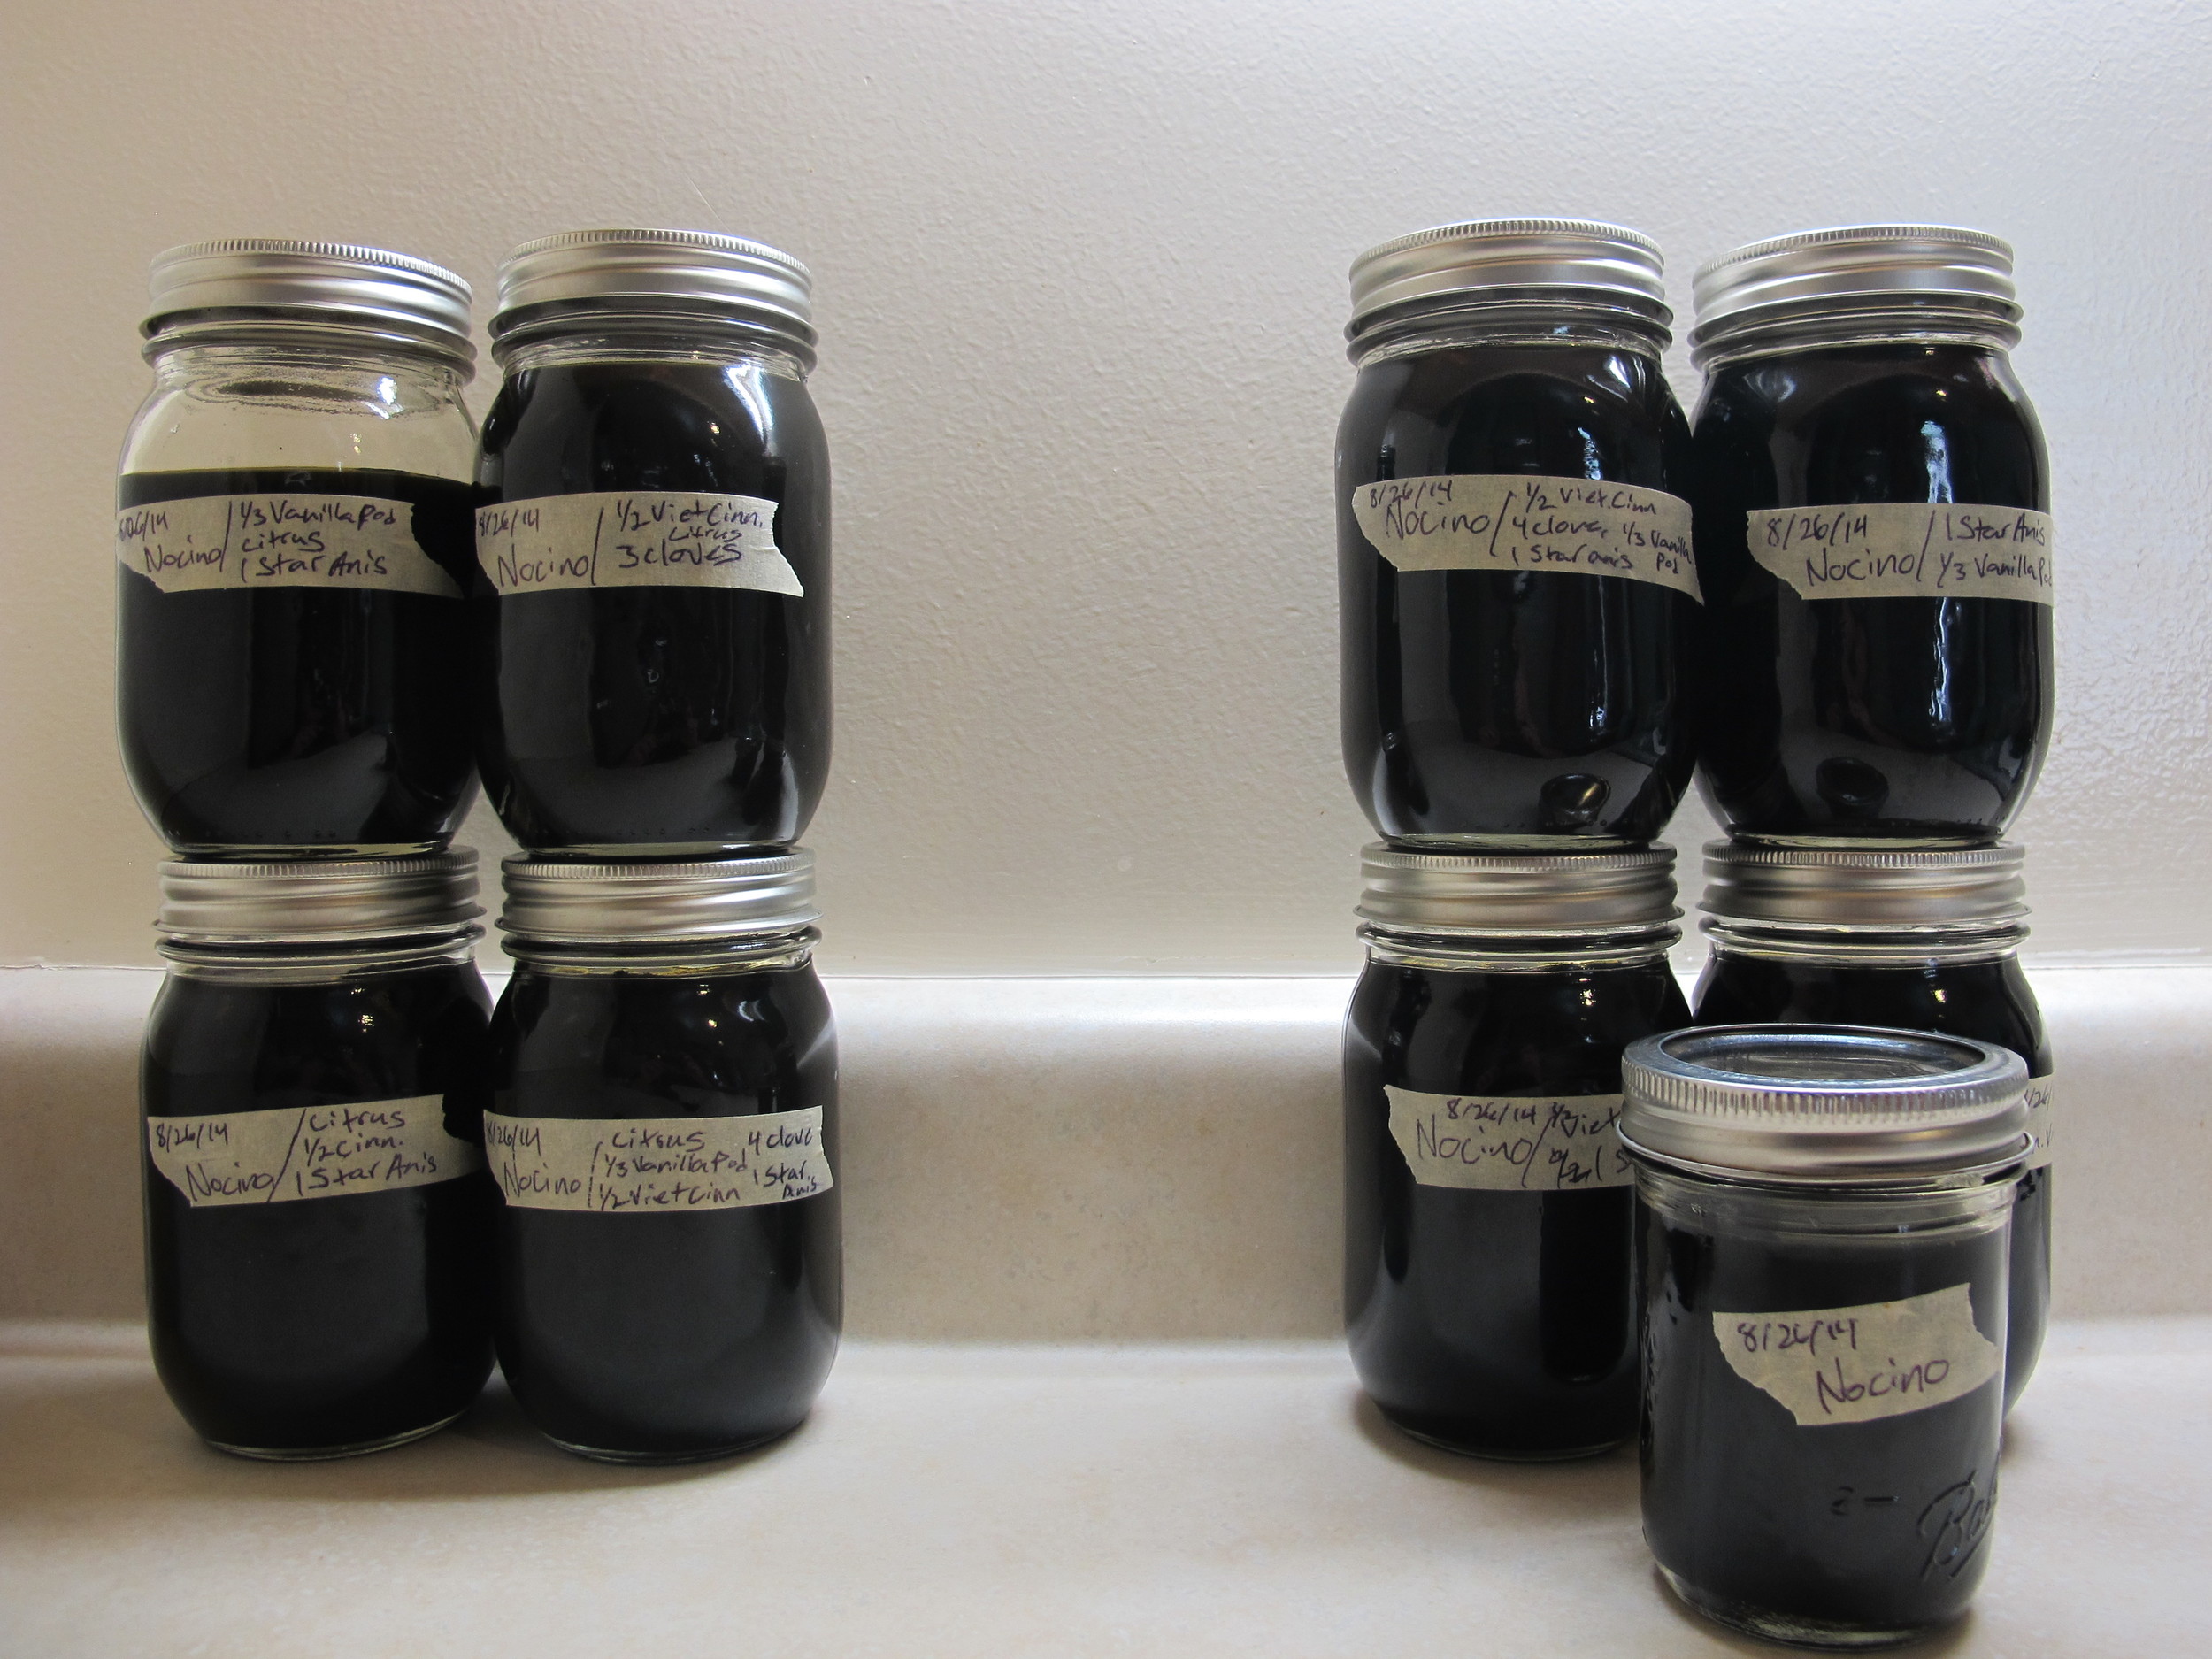
Most recipes I've seen suggest that after the spices have been added, to let the nocino rest for up to a year. So almost exactly one year later I decanted and filtered each jar using a V60 coffee setup. For some silly reason I shook the first jar which stirred up a bunch of fine sediment and took forever to filter. With each successive jar I was careful not disturb the sediment which made the filtering step so much quicker. As I filtered each jar of nocino I cleaned the jars so that I could reuse them.
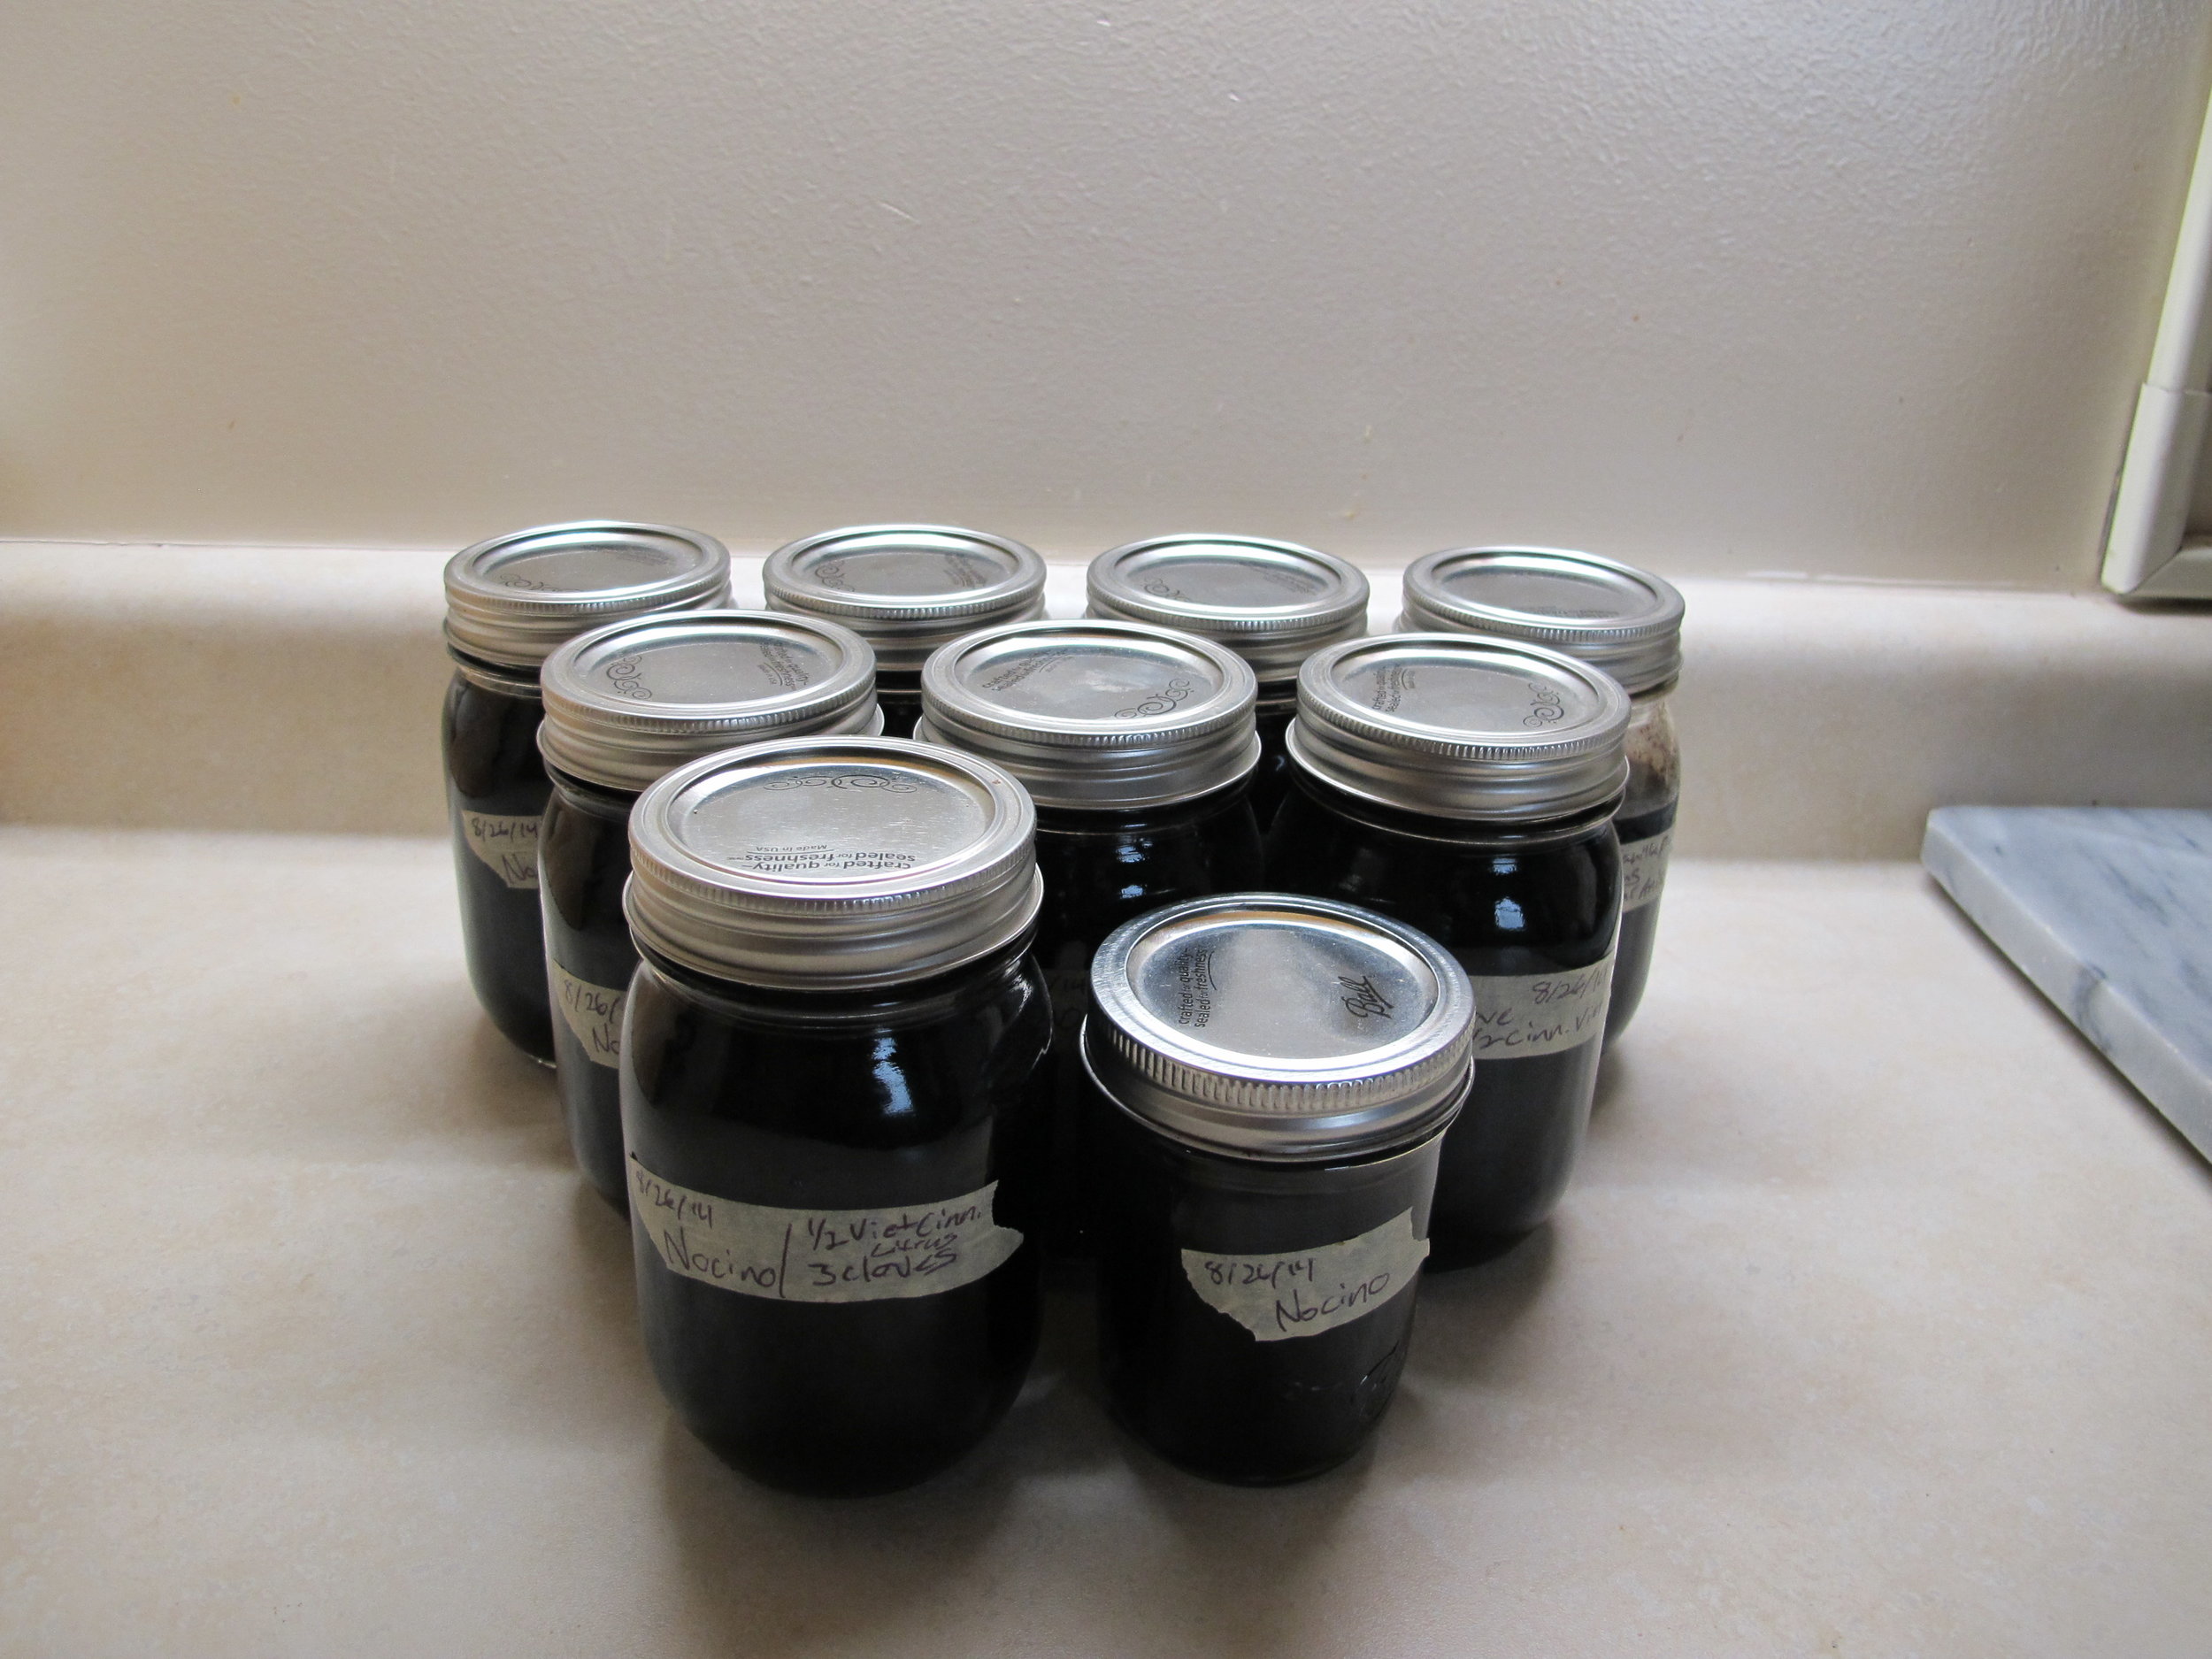
At the time I was doing this my wife and I had a 1 year old boy and I didn't have a lot of time to spend with the nocino so after each jar was filtered I put the contents back into its now clean jar and sealed it back up. My intent was revisit them the next week and see which spice mix I liked best. However, time has a way of slipping away from you when you have a baby so I didn't come back to retaste the nocino until more than a year after I filtered them.
Tasting through each jar was very informative and a little disappointing. Except for the nocino that didn't have any spices added to it, none were good enough on their own to keep separate. In each one, the intensity of the spices was out of balance with the walnuts, sugar and alcohol. But, rather than throw them out I decided to blend some of them together and see if I could make the sum of the parts better than the whole. However, even after blending some of the jars together the results were less than stellar because I left the added spices to macerate for way too long. At this point the only hope I have of saving the nocio is by adding some mint to it and trying to transform it into a fernet which might work better with its current intensity of the spices.
Conclusions:
When I tasted the different jars of nocino there were a few things that were immediately obvious.
- The nut flavor and mouthfeel of the nocino made by desiccating the green walnuts with raw sugar before I added the alcohol was by far superior to macerating the green walnuts with alcohol and simple syrup.
- Macerating the lemon with the green walnuts, alcohol and simple syrup was way to long and it left a not so pleasant and bitter lemon flavor from the zest.
- Even though I tried to put small quantities of spices in each jar, I included way too much. while there are some that I like more than others, in the future I will need to use less spices per unit volume and it would probably be best.
- Macerating the spices for 12 months is too long. The nocino does need to rest for 12 months but it would be better to taste the nocino in week long intervals to see how the extraction progresses.
- Time is your friend when making amazing nocino. When I tasted the 2 year old jar of nocino that I had filled without spices it was fantastic. After a year the tannins were still pretty strong, but after two years it has a good balance between bitter and sweet. It had a very nice, nose of light coco powder, and cedar...
In the end this was a fantastic project and even though I wasn't supper excited by any of the spices versions, I learned some excellent lessons that will make my next batch of nocino even better.
How to Make Homemade Nocino Part 2
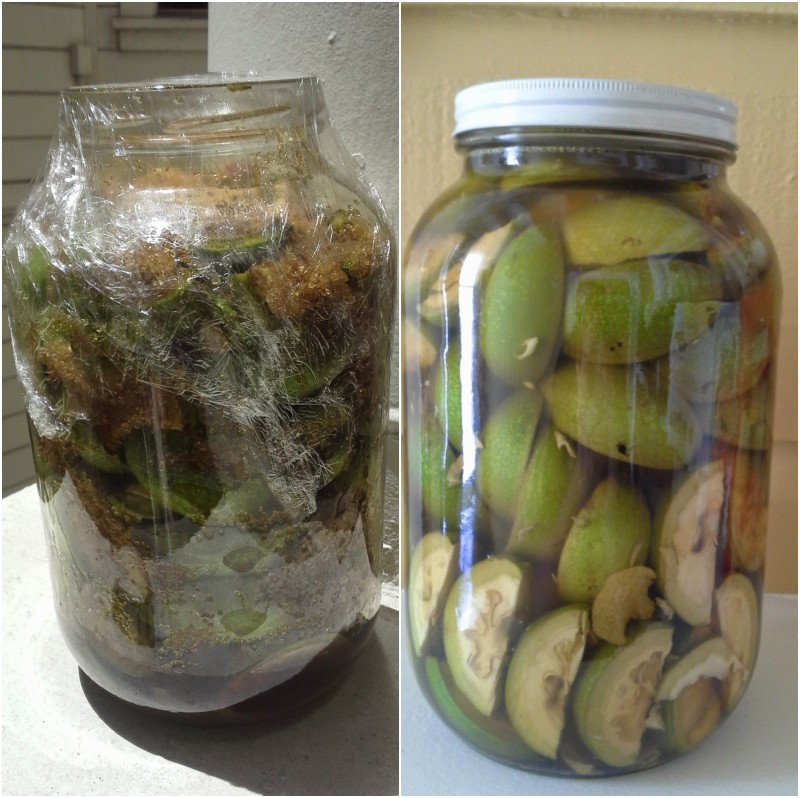
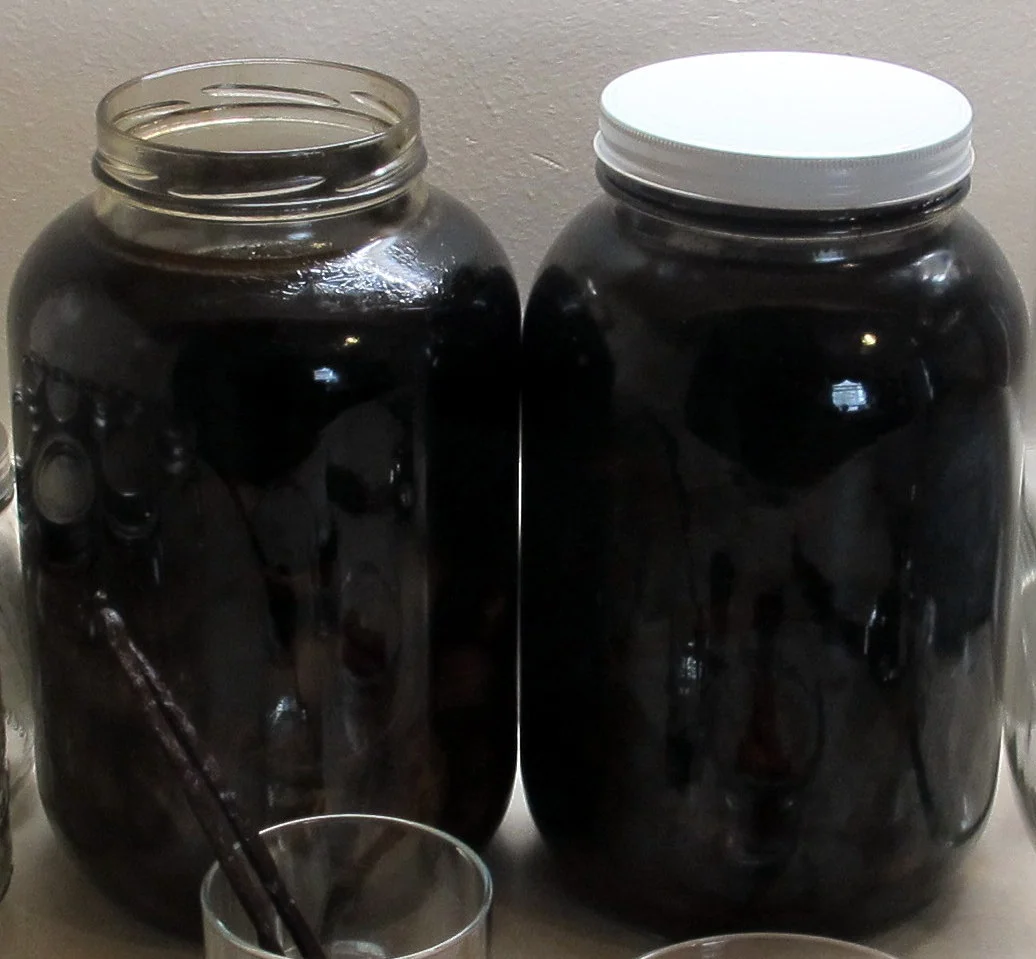
Two months ago I wrote about beginning the process of making homemade nocino, an Italian walnut liqueur. Well the day has arrived to decant the two jugs of nocino into smaller jars. Over the past two months these walnut, sugar,and alcohol mixtures have transitioned from greenish brown to an almost black liquid. As an aside, the pigment from walnut skins has been used for centuries as an ink and dye and, as I found out, if you spill some on your kitchen counter without wiping it up right away, it will stain that too.
Vanilla pods, Vietnamese Cinnamon, Star Anise, and Whole Cloves
One of the primary distinguishing factors of one nocino to another are the spices used to flavor the liqueur. I looked at a number of recipes and the four most common spices were cinnamon, clove, vanilla, and lemon peel. The nocino that Bill Owens gave me was flavored with cinnamon and star anise, which from my research is an unusual combination but it tastes really good so I decided to add it to my list of spices. One important decision at this point was to determine which of the three common varieties of cinnamon to use. When I created my spirit aroma kit I included two different types of cinnamon so I turned to it for help. The Vietnamese cinnamon has a pleasant yet spicy note like cinnamon and maple syrup over oatmeal, while the Ceylon cinnamon was hot and sweet like a fireball candy. For the nocino, the Vietnamese cinnamon seemed most appropriate. Another part of my experiment was to make half the nocino with lemon peel and half with out. In the pictures above, the jar with the white lid also included lemon peel. When I tasted them, both were still pretty bitter but the nocino with lemon had a much dryer finish.
Nocino Spice Experiments
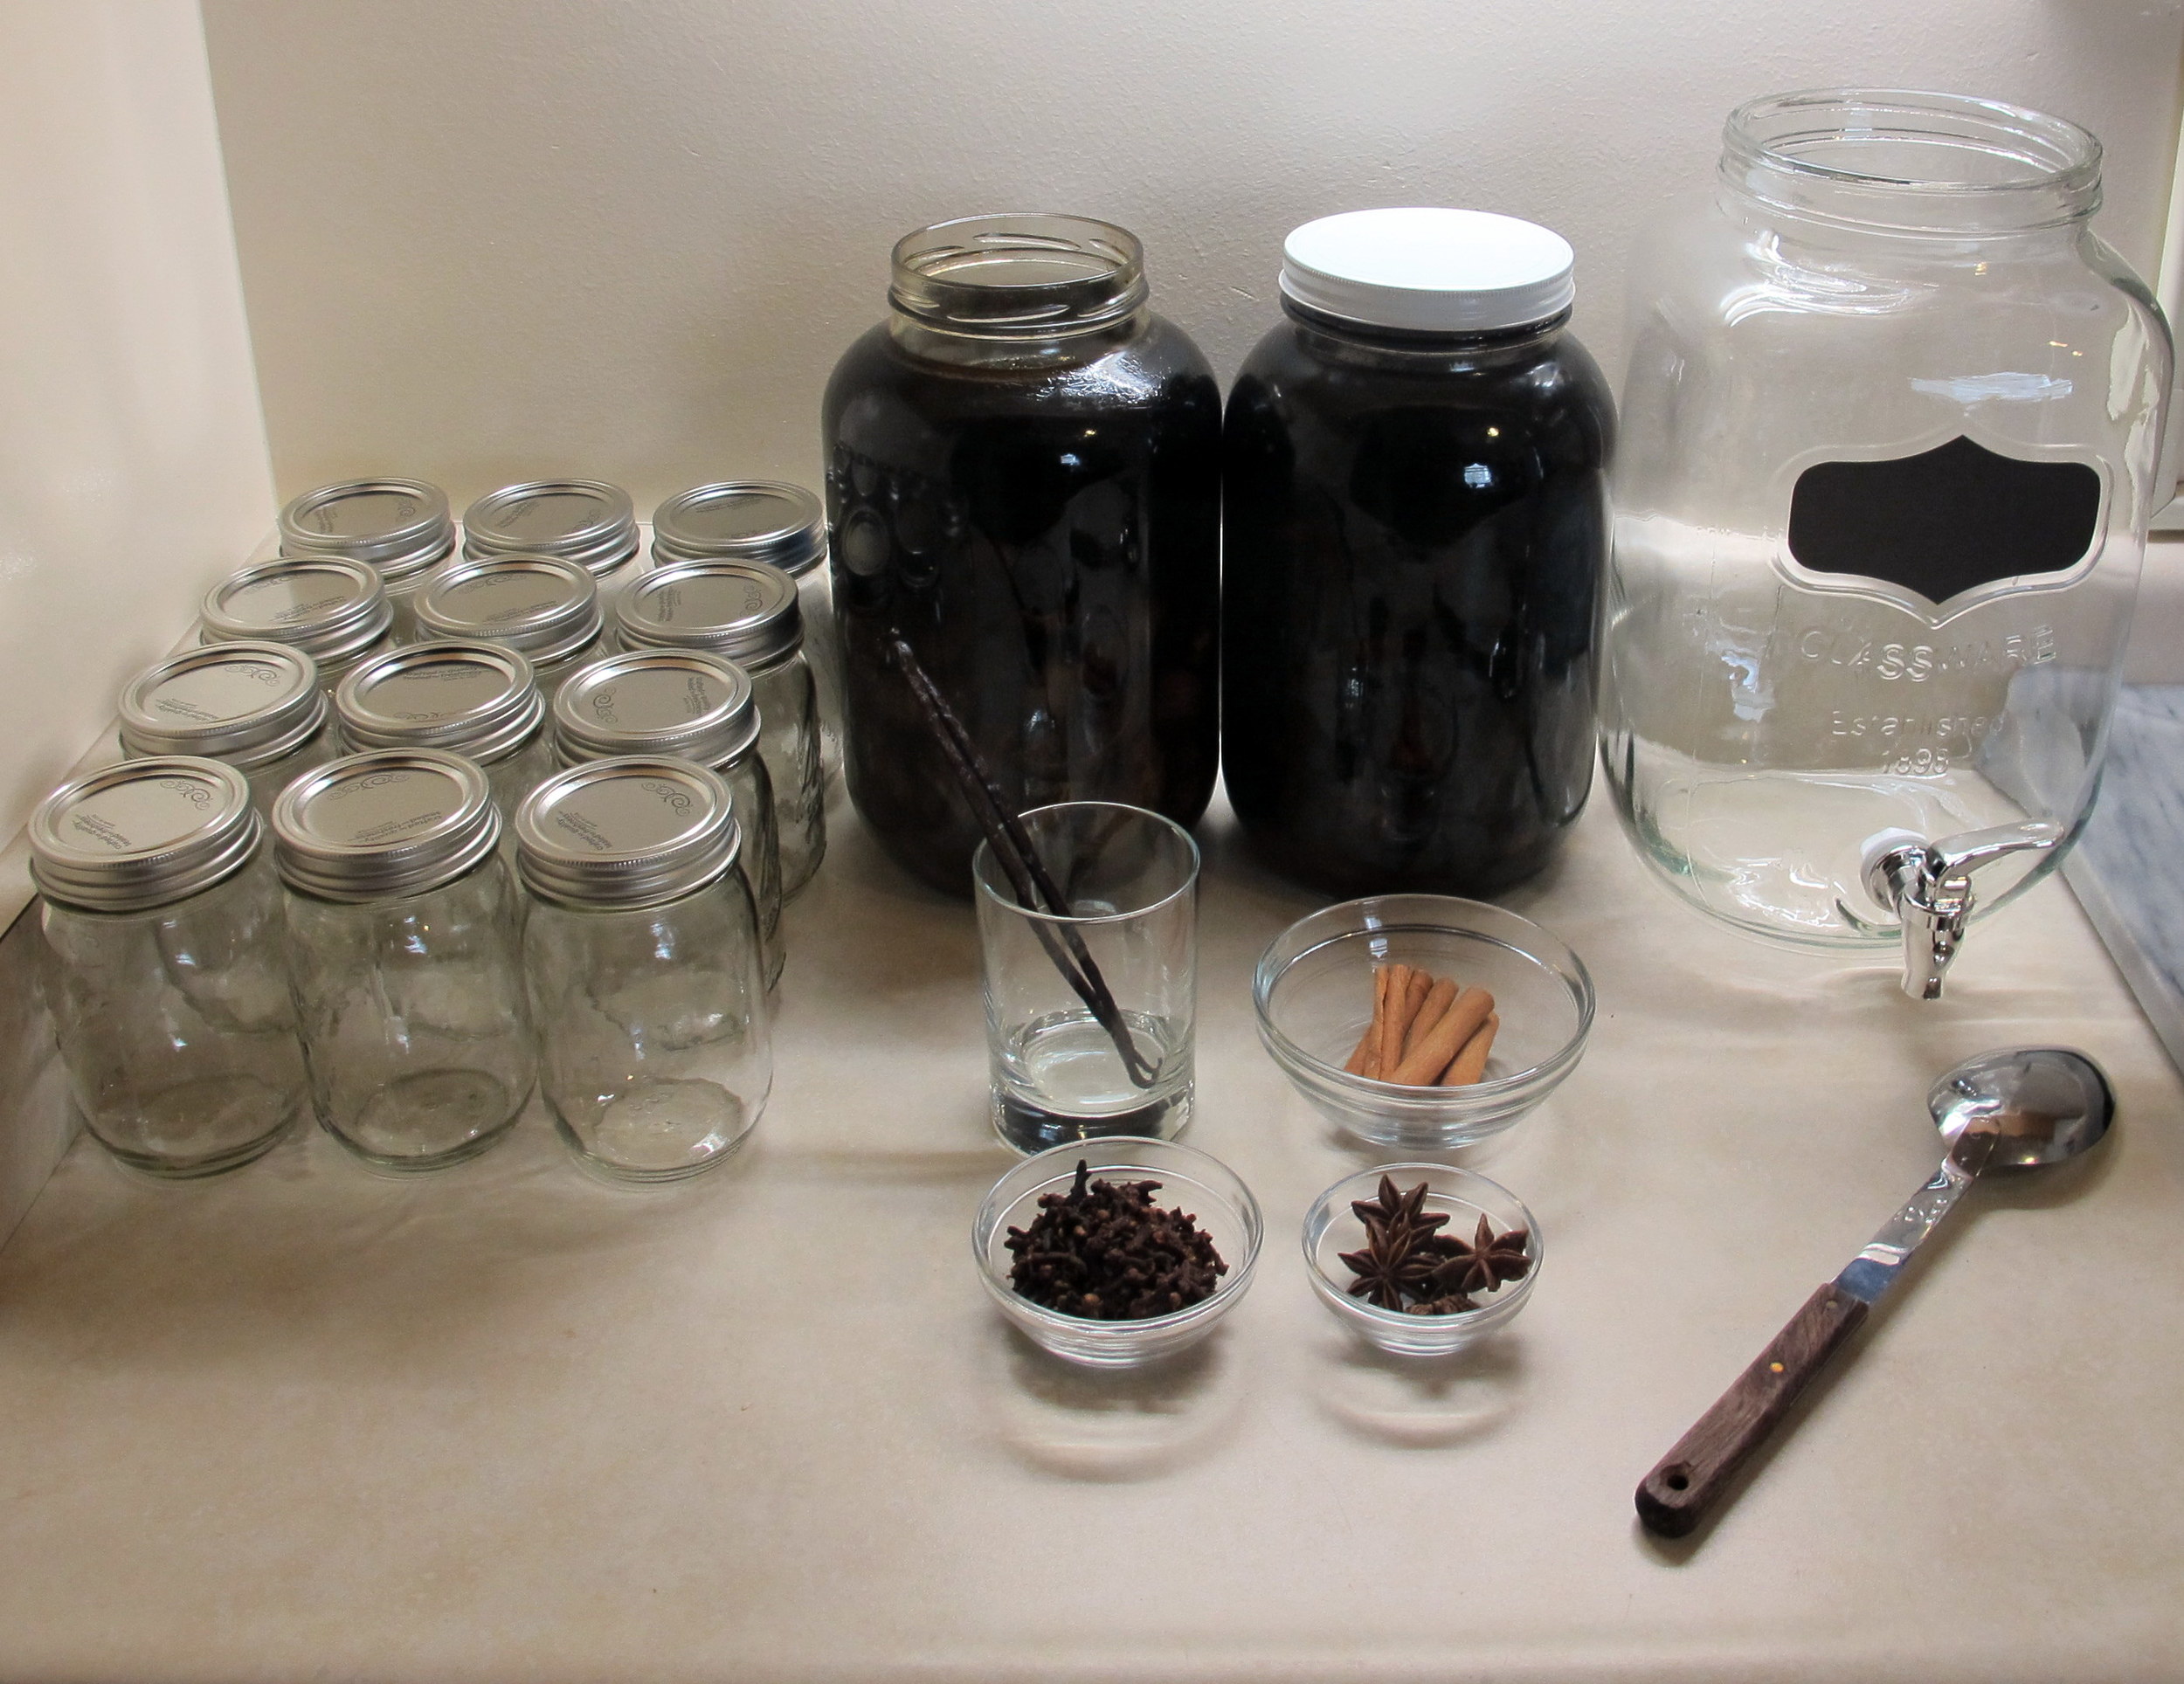
Finally, before I began the process of decanting each jug into smaller jars I decided on a couple of spice combinations to see what I like best.
1. Cinnamon & Clove 2. Cinnamon & Star Anise 3. Cinnamon, Clove, Star Anise, Vanilla 4. Vanilla & Star Anise 5. Lemon, Cinnamon & Clove 6. Lemon, Cinnamon & Star Anise 7. Lemon, Cinnamon, Clove, Star Anise, Vanilla 8. Lemon, Vanilla & Star Anise.
After I filled the jars with the right spices labeled and labeled them I strained the contents of the first nocino jug into a large glass dispenser with a nozzle that made filling each jar really easy (this was my wife's idea). I'd like to say this went smoothly but I made a bit of a mess with nocino spilling and splashing on the counter top and floor. But, once the first jug was decanted I filled and topped the first four spice experiments. With a little left over, I decided to fill a half pint jar without any spices to see how the nocino ages just on its own. Decanting the second jug of nocino went a little smother than the first time but there was still some spillage from one jug to the other. Despite looking fuller, the second jug, which had the lemon peel, contained a little less fluid and I was only able to fill 3 and 3/4 pint jars (pictured in the gallery below).
Now the jars of nocino with their labels fix and lids securely screwed on were placed in a cool dark corner of our apartment to age for another eight months. Once the eight months has elapsed I will taste them again and hopefully settle on a single recipe that I like the most. If the bitterness has smoothed out enough I will think about proofing them down a bit, bottling and giving them away as gifts.
In the mean time I will continue to enjoy the nocino I have in my cabinet and dream of next year's harvest.
Cheers!
How to Make Homemade Nocino
In Italy, the feast day for Saint John the Baptist (June 24th) is celebrated by picking unripe walnuts to make nocino. Nocino is a bittersweet liqueur that can be enjoyed several different way. Traditionally it is consumed neat after a meal as a digestivo to help the meal settle. You can also pour it over vanilla ice cream or swap it for vermouth in your favorite cocktails. But however you drink it, the great thing about nocino is how easy it is to make at home with a few simple ingredients and a little bit of time.
If you search the internet you will find a plethora of recipes but they all follow the same basic pattern: quarter green walnuts, add sugar, spices and alcohol and let sit in a large jar from a few months to a year. Since this is the first time I've ever made nocino, I decided to try two different recipes. The first is based on a recipe from an Australian producer and the second is a variation of the recipe found in The Drunken Botanist.
Supplies and Ingredients:
- Disposable gloves – the juice in the walnuts will stain your skin brown if you don't wear them.
- Large Glass Jar – I used a wide mouth 1 gallon jar.
- Cutting Board
- Large Chef's Knife
- Green (English) Walnuts – Some farmers markets will sell them but I picked mine from my boss's tree in Hayward. I also found that the larger walnuts were easier to quarter than the smaller ones.
- Neutral alcohol – the recipes I found were split between vodka (40% abv) and a high proof spirit like Everclear (75.5% abv), I went with everclear.
- Sugar – I'm sure you can go with whatever you have, but I decided to use organic raw sugar.
- Spices – The general suggestions are lemon peel, clove, cinnamon, star anise, and vanilla. I'm going to try a few different variations.
EZ Nocino #1
I filled the jar with quartered green walnuts layered with 600g of organic raw sugar. Covered, I placed the jar in the sun to sit for 2 days. After the two days I will top up with everclear and store in a cool dark place for 2 months, stirring once a week. After the two months I will strain out the solids and split this batch into a couple of large mouth, quart size mason jars. In each jar I'm going to try a couple different spice mixes (cinnamon, clove, vanilla and star anise) to see which I like best. I'll let these sit till next June when I'll strain and bottle them.
EZ Nocino #1
EZ Nocino #2
EZ Nocino #2
In a sauce pan I covered a cup of organic raw sugar with water and brought it to a simmer while stirring. I poured this simple syrup into my second 1 gallon jar and zested two small lemons. I filled the jar with quartered walnuts and topped up with everclear to sit in a cool dark corner. After two months of weekly shaking, I'll strain out the solids and split it liquid into a couple of large mouth, quart size mason jars. I'm going to try the same spice experiment describe above to try and find the right mix.
I'm excited to see the process through because the bottle my boss gave me from the batch he made last year was really good. If you are interested in making your own there is still time. There are still a few weeks before the hard woody shell will start to form inside the husk. Once the hard shell forms, the walnuts will be very difficult to cut.
Good Luck!